Before getting started, make sure you cover all the basics of beginning automotive work. This includes disconnecting your battery, raising your vehicle, and even removing your corresponding front wheel.
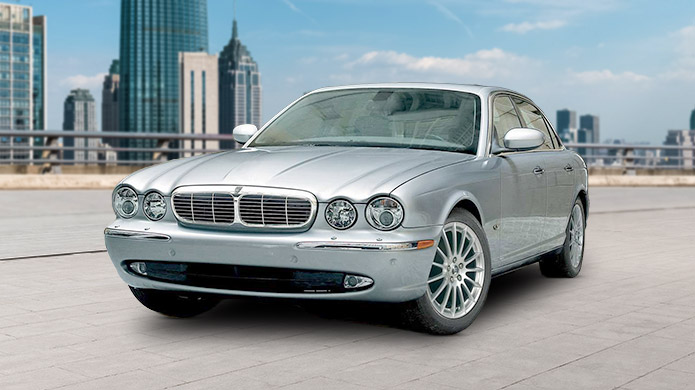
How to Replace Your Jaguar XJ (X350) Front Shock
Related articles
ALL TOPICS
18 February 2022
How to Replace Your Jaguar XJ (X350) Front Shock
Your Guide to Reclaiming Luxurious Rides in Your Jaguar XJ
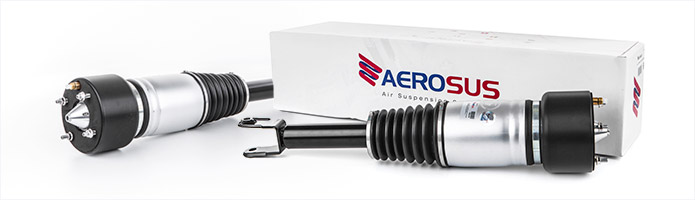
Is your Jaguar XJ starting to feel rough and awkward when you cruise? Even worse, can you no longer carve through curves with finesse or exhibit a rocky sensation when you get up to highway speeds? Not to worry, as you can get back to those smooth and exhilarating drives with a simple shock replacement—and it only takes a little over an hour in most cases. Stick with us today as we guide you through the process, and don’t forget to purchase your Jaguar XJ (X350) front shocks online at AEROSUS.
Change Your Shocks in 11 Steps
Once your Jaguar XJ AEROSUS front shocks arrive in the mail, it’s time to restore those legendary rides your British cruiser is known for. Even if you’re new to repairs, follow along with these steps and you’ll have your ride back to dominating the road in virtually no time.
1. Cover the Basics
2. Remove Your Sway Bar End Piece. Once your wheel is off, reach in the wheel well and feel for the bolt on the sway bar. You’ll be able to physically push this part to loosen your sway bar.
3. Remove the Upper Arm Connection. Next, loosen the bolt that connects your upper arm to your assembly hub—you’ll know it’s the right bolt when the arm begins to free out of its spot. Eventually, you’ll get to a point where you can loosen the bolt by hand—hold the arm in place while your other hand finishes physically removing this bolt. Once out, you can pull your hub forward to reveal your air shock.
4. Disassemble Your Shock. For the next step, you’ll want to begin by removing the electrical connections to your air shock and loosening your air line. Be careful for the latter portion, as air will release, sometimes in high pressure. Once removed, finish by taking out the bolts from the mounting studs on your Jaguar XJ air shock.
5. Take Out the Lower Arm. Now, you’ll simply remove the bolts connected to the lower portion of your arm—for boosted help, you might need to lift your shock.
6. Time to Remove Your Shock. Simply pull down your hub, push up your shock, then pull it down to release. From here, your shock should slide right out, and you’re ready to begin the installation phase.
7. Install Your New Shock. From here, you’ll essentially perform the above steps in reverse. Start by removing the bolts on your AEROSUS shock. Then, slide your replacement shock into your wheel well—you’ll need to lift it high inside your well to align all proper studs.
8. Mount and Tighten Your Remaining Parts. Now it’s mostly the clean-up phase. Align your shock and vehicle arm with the mount—then slide the bolt through to finish connecting these parts. Next, mount your shock to the upper arm—again, you’ll need to align your hub to the upper arm and screw in the bolt. Finish off this step by connecting your sway bar to the end link and tightening your remaining bolts.
9. Tighten All Remaining Parts. Just as the name says, finish off by tightening the bolts on your upper arm and lower shock.
10. Finish Putting Your Shock Together. For this step, reattach your airline hose and fitting. Then, put all bolts in their proper places and tighten them to connect your shock to the mount. You can now safely attach your electrical connection.
11. Reconnect Your Tire and Battery. Your installation is now virtually complete, so reconnect your tire and battery, and your vehicle is good to go.

Eager to get back to smooth and fun rides in your Jaguar XJ (X350)? Click on AEROSUS and purchase your front air shocks today. Not only do we make our air suspension parts easy to install, but we also throw in a 2-year warranty, a 30-day guarantee, and express shipping worldwide. Need both front air shocks? Not to worry, as we provide a 10% discount when you order as a pair—and that’s only the start of the perks you’ll find when you work with us at AEROSUS.